User Manual
This part of the documentation is intended to describe the features of pyFDA that are relevant to a user (i.e. non-developer).
Once you have started up pyFDA, you’ll see a screen similar to the following figure:
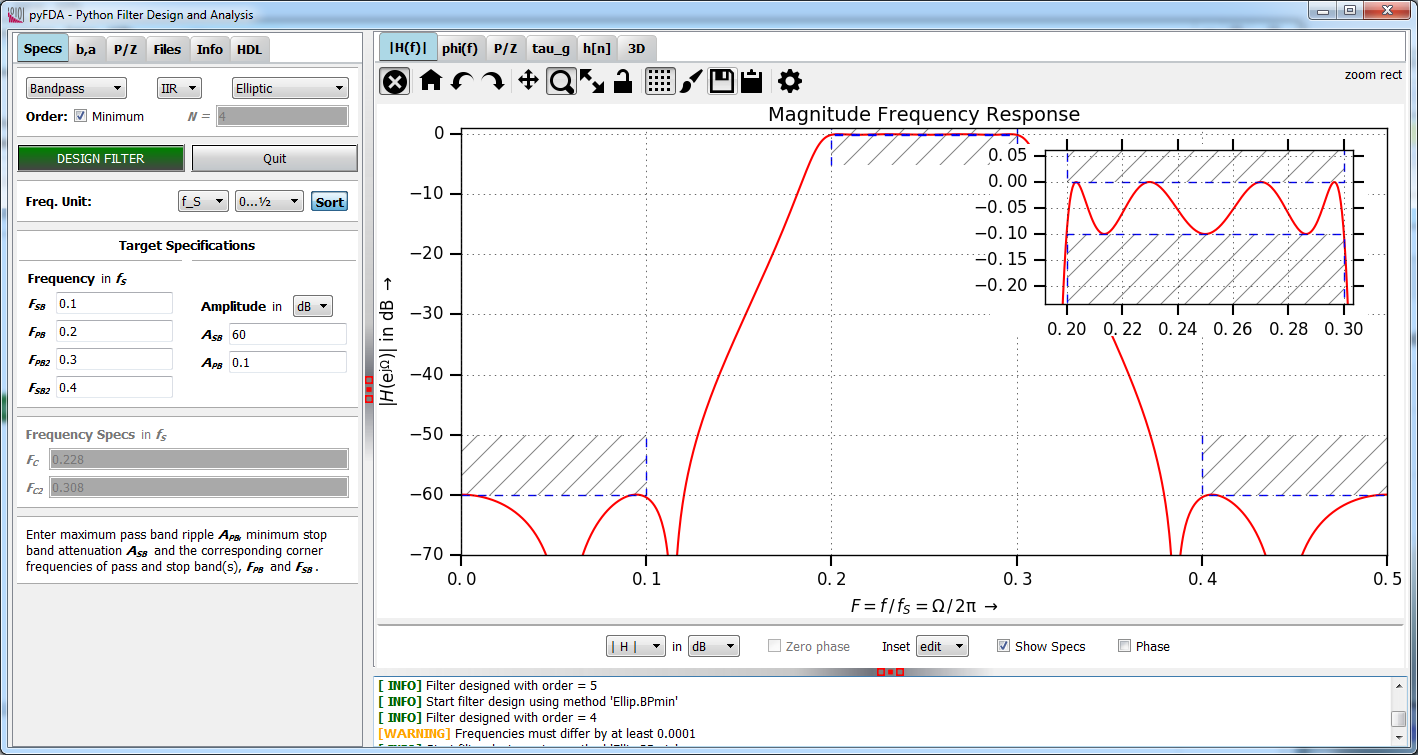
Fig. 1 Screenshot of pyfda
- Inputs widgets: On the left-hand side you see tabs for different input widgets, i.e. where you can enter and modify parameters for the filter to be designed
- Plotting widgets can be selected on the right hand side of the application.
- Logger window is in the lower part of the plotting window, it can be resized
- or completely closed. The content of the logger window can be selected, copied or cleared with a right mouse button context menu.
The invidual windows can be resized using the handles (red dots).
Plotting Widgets
Customization
You can customize pyfda behaviour in some configuration files:
pyfda.conf
A copy of pyfda/pyfda.conf is created in <USER_HOME>/.pyfda/pyfda.conf
where it can be edited by the user to choose which widgets and filters will be included.
Fixpoint widgets can be assigned to filter designs and one or more user directories can
be defined if you want to develop and integrate your own widgets (it’s not so hard!):
pyfda_log.conf
A copy of pyfda/pyfda_log.conf is created in <USER_HOME>/.pyfda/pyfda_log.conf
where it can be edited to control logging behaviour:
pyfda_rc.py
Layout and some parameters can be customized with the file
pyfda/pyfda_rc.py (within the install directory right now, no user copy).